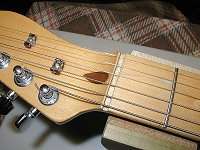
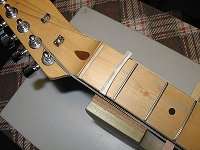
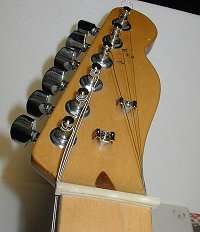
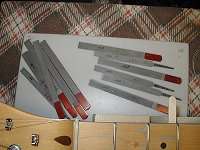
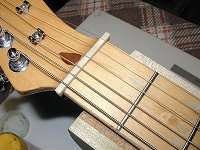
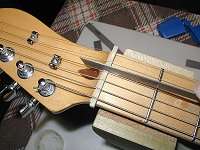
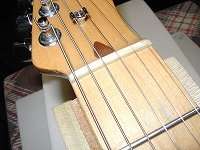
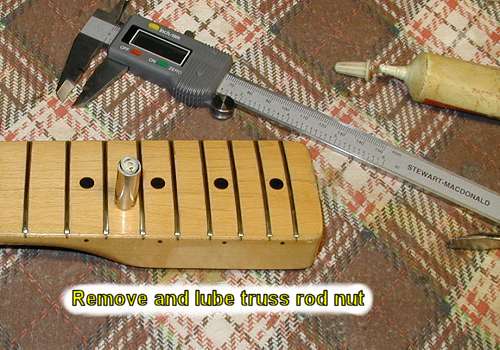
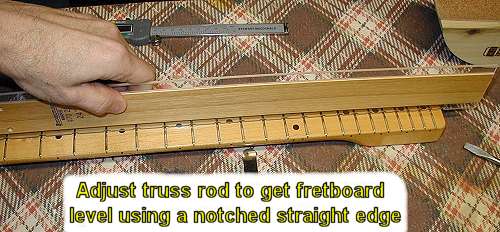
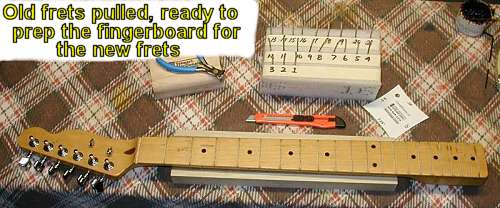
This is a Warmoth "vintage construction" Tele neck, with a 7-1/4" fretboard radius. The truss rod is single action with a heel-located slotted nut. The old frets appear to be Warmoth #6230, with a crown width of .080" and a .043" crown height ... typical modern Fender frets. Some first and third position frets (the "cowboy" and "blues" positions) have deep string divots, while most of the frets from the 1st to the 10th show increasing wear as the rounded fret crown were worn flat and smooth. The concern is with the divots - a few were so deep that a level and crown would have been impossible. Time for a refret on this ol' bad boy!
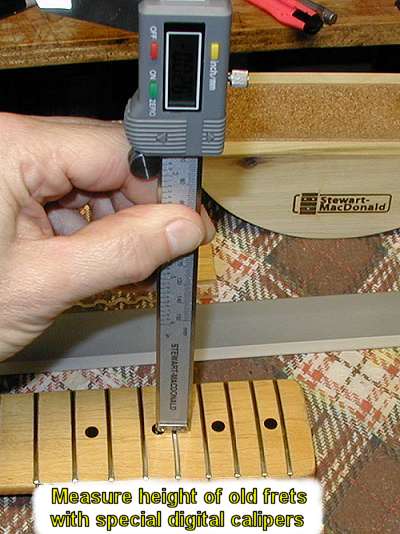
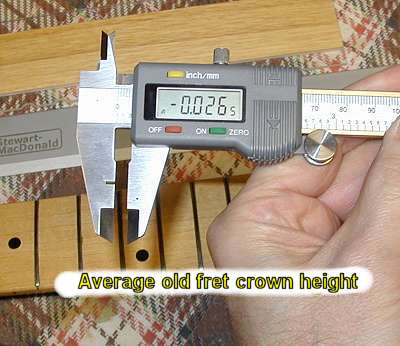
Though the fret crowns measured an average of .026" high off the fretboard, in reality they average .041" in height. This is because of the fingerboard lacquer buildup - the fingerboard and frets are sprayed after the initial fretting. The old frets average .079" in crown width. I'll be using Stew-Mac #0141 frets with a crown that's .095" wide and .045" high.

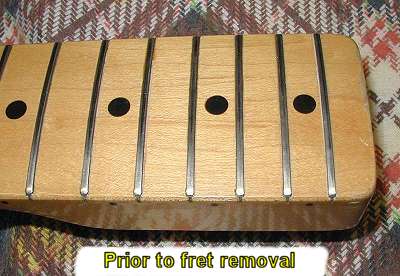
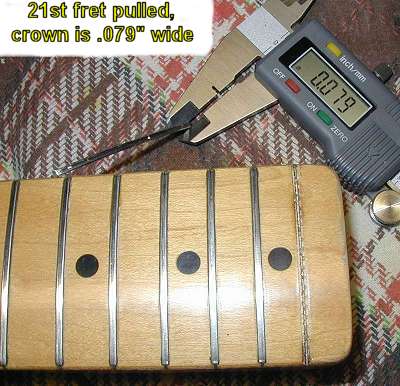
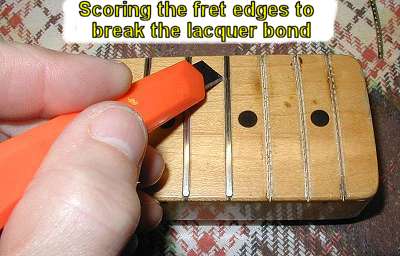
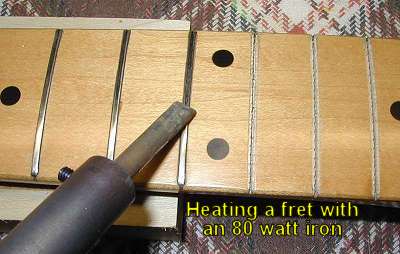
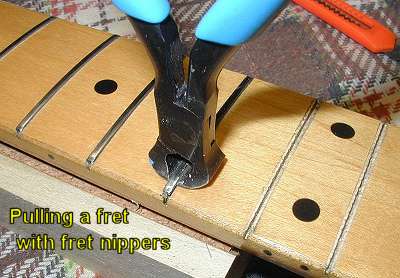
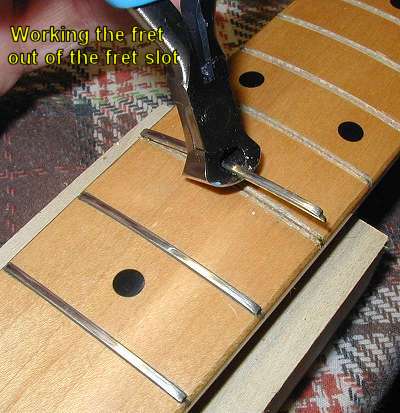
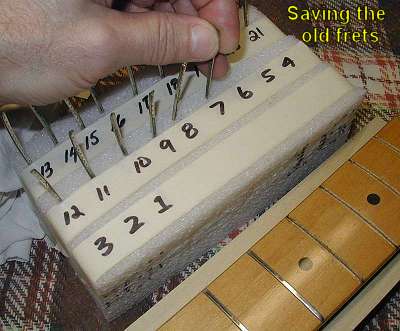
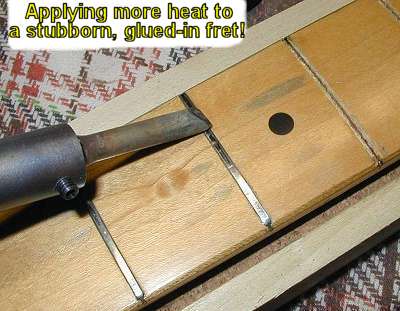
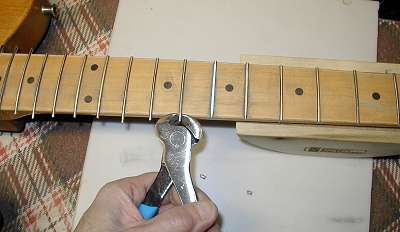
Warmoth glues and presses in their frets (as do most manufacturers these dayze). Usually they use a CYA glue, sometimes alphatic resin or hide glue. These frets were WELL glued and it took lots of heat to loosen the bond enough to get the fret nippers under the fret crown and lift them out without the fret tang barbs sticking and/or chipping off the fingerboard.
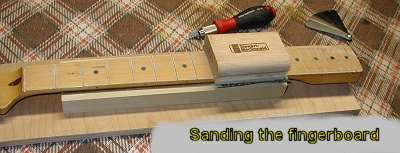
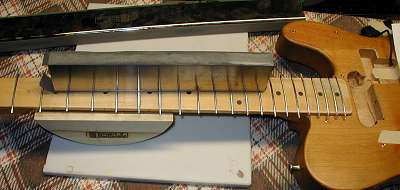
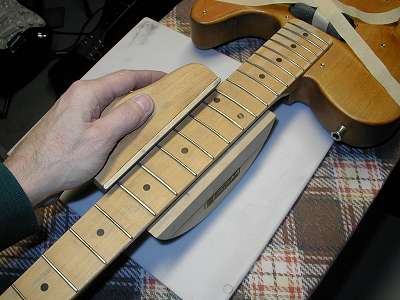
The fingerboard must have the lacquer "walls", that are next to each fret slot, knocked down flat. Sometimes just a leveling file is all that's needed. This fingerboard was a bit off in the radius, so it needed to be sanded - here I'm using a 7-1/4" radius block and 600 grit Klingspor abrasive paper to get the job done.
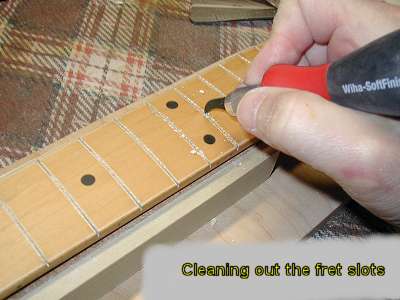
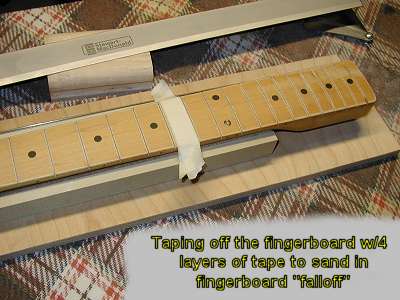
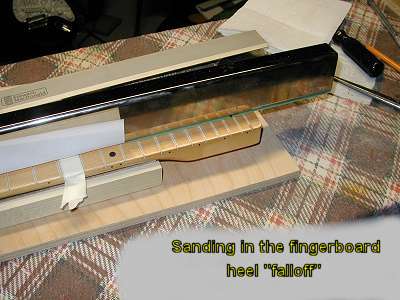
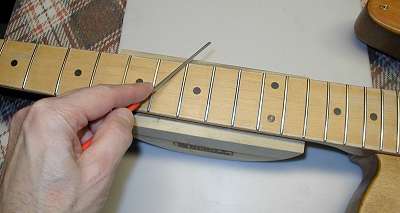
It's quite common for the fingerboard neck in the heel area to swell up and "hump" - sanding in a few thousands of tapered "falloff" means there won't be any buzzing or action issues somewhere down the playing road. Using the 600 grit Klingspor paper again. After sanding the board down, and cleaning out the slots again, I use a little triangular file to lightly chamfer the edges of the fret slots, to help ease the fret tang in smoothly - sorry, forgot to get a pic of that!
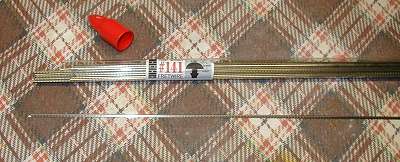
A pound sleeve of Stew-Mac #0141 nickel/silver frets (.095"x.045") - they're a straight 2 feet long and need to be curved before cutting and fretting.
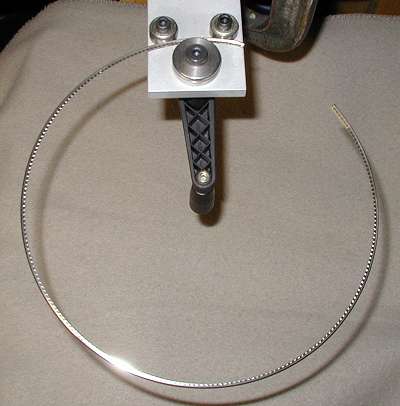
Here's a 2 foot fret length that's been curved using a Waverly fret bending jig - the first and last inch don't get bent and either need to be hand bent or cut off.
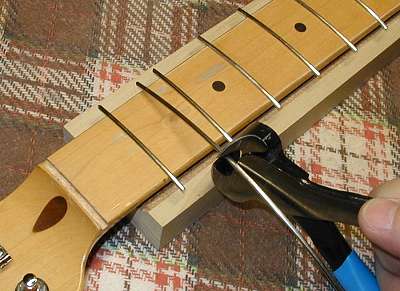
Cutting a fret to length using special fret cutters. I usually do an overhang of between 1/8" and 1/4".
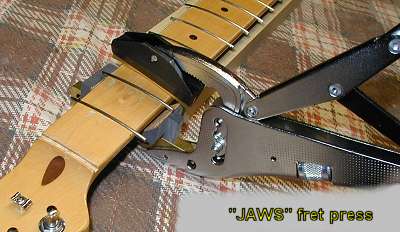
I have the luxury of using two different fret pressing tools for this refret. First, an Erlewine "Jaws" with a 6" brass radius caul sets the fret well into the ends of the fret slot. This is followed up by ...
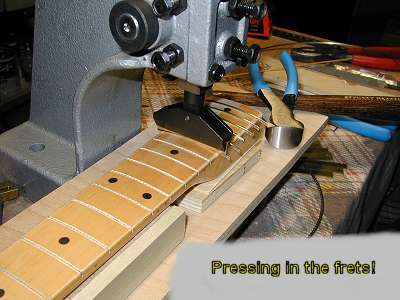
... using an arbor press with a 7-1/4" radius brass caul - this seats the middle area of the fret, as well as compressing and pushing the fret ends outward, towards the slot ends. This very slightly drives the fret barbs sideways, for better "bite" in the slot.
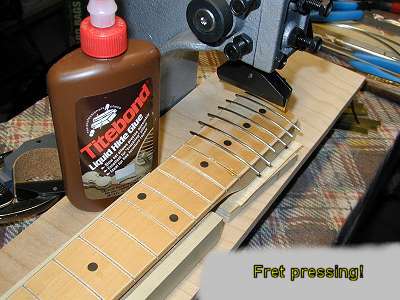
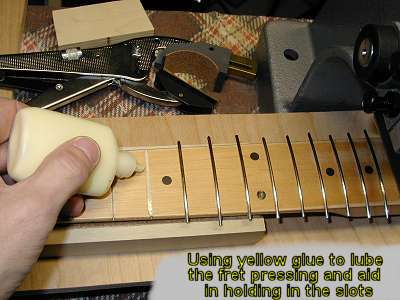
I usually use either a liquid hide glue or an aliphatic resin yellow glue (Titebond) to both lube the fret pressing and to aid in keeping the fret stuck in the slot - basically, the glue forms a "dam" around the fret tang barbs. I mostly prefer the yellow glue. Sometimes I'll wax off the board and use thin CYA along the edge of a fret that's just been pressed in, followed by a piece of paper towel with acetone to clean any run-off.
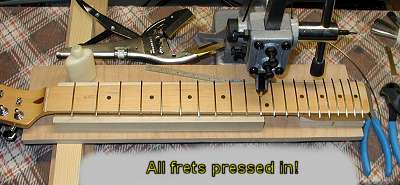
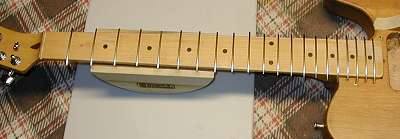
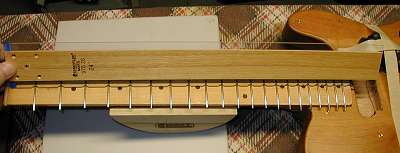
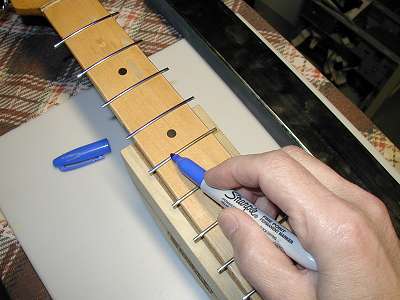
I give the glue at least a few hours to set up before moving on to clipping and leveling - probably best to leave it alone overnight ... no need for rushing here.

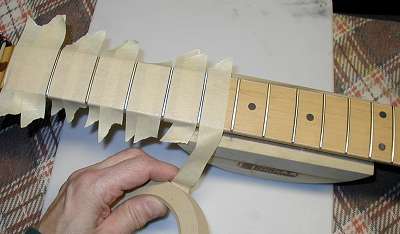
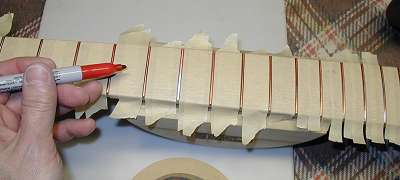
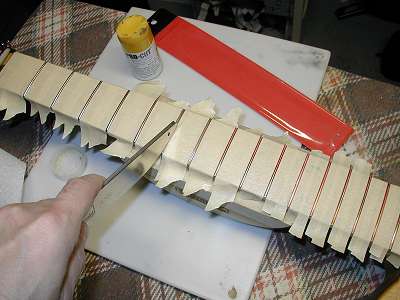
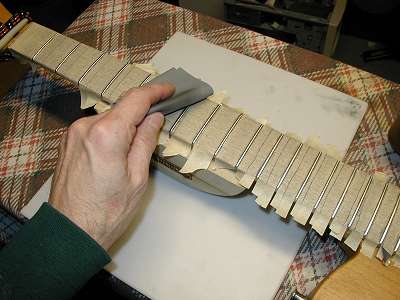
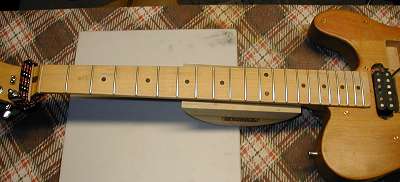

Eight light sprays of Guitar ReRanch tinted clear. I'll give a week to start the cure and then bolt it on the body and set it all up for best playability. I'll use some 0000 steel wool to polish off the lacquer on the frets.
